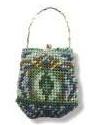
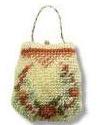
How to complete a dollhouse needlepoint handbag
ONLINE MINIATURE NEEDLEPOINT EMBROIDERY TUTORIALS
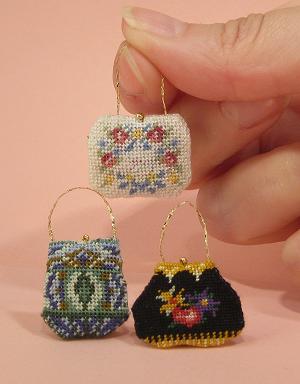
Customers have been asking me to design some of these for years! They are surprisingly quick to make, and add that ‘personal touch’ to your doll’s house or room setting.
These Janet Granger miniature handbag kits contain a piece of 32 count or 40 count silk gauze (depending on the design), Anchor stranded cotton (use one strand), clear instructions, a colour block chart to count the design from, fine gold thread, a bead to simulate the ‘closure’, and suitable needles.
This tutorial features the ‘Elegant Peacock’ handbag design in the step-by-step photos. This is one of the range of handbags that we offer. See our Needlepoint Kit Store for details.
These Janet Granger handbag kits are to be worked on 32 or 40 count silk gauze, using tent stitch for the detail, and basketweave stitch for the background (similar to half cross stitch). See the NEEDLEPOINT STITCHES Tutorial if you have not done these stitches before – they are very simple to do.
Mount the silk gauze into a card mount, as described in the SILK GAUZE Tutorial. This will make it much easier to work stitches with an even tension, and also makes your miniature stitching quicker to do!

Start stitching from the centre of the design, as described in the tutorial NEEDLEPOINT STITCHES mentioned above, working outwards. When all the detail is complete, fill in the background.
IMPORTANT NOTE: The handbag designs have a front panel and a back panel, worked separately and then stitched together. One large piece of silk gauze is included in the kit. Make sure that you leave a gap of unworked silk gauze of at least half an inch between the two panels when stitching the designs, to allow for a seam allowance on each panel when making up.

When all the stitching is complete, trim the unworked gauze around each panel to a quarter of an inch all the way round.
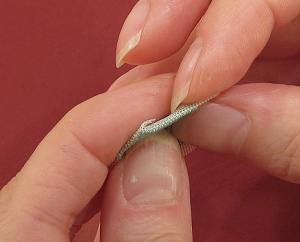
Fold back the quarter inch seam allowance of bare gauze around each panel of the handbag, making sure that the fold lies right along the centre of the outermost row of stitches, so that no bare silk gauze is left showing from the front. Finger press the fold to set the crease.

Attach the gold thread for the handle before stitching the two panels together. To do this, thread the fine gold thread onto the tapestry needle and knot the thread end. You may need to dampen the thread first to remove any kinks.
On the back panel of the bag, secure the gold thread by taking a couple of back stitches through the reverse of some of the needlepoint already worked – do this in roughly the centre of the bag.
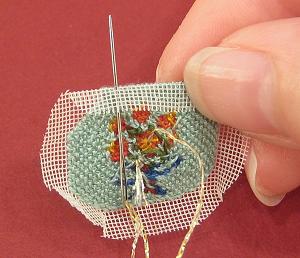
Then, referring to the photo on the front of the packet for placement and length, pass the needle up through the very edge of the seam allowance, about four holes in from the top corner of the handbag.
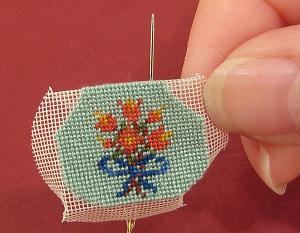
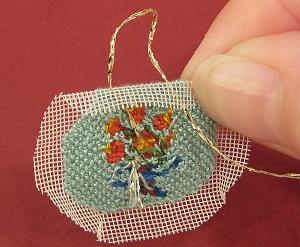
Leave a thread loop, then pass the needle down on the opposite side. Secure the thread end close to where you started.
Take a length of leftover stranded cotton about 12 inches long, in the same shade as the background of the handbag, so that the stitches will blend in as much as possible. Using a single strand, secure the length by knotting the cotton and making two back stitches in the seam allowance towards the bottom corner of one of the panels.
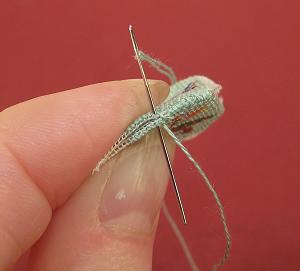
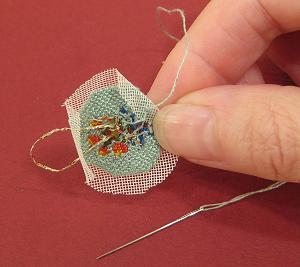
Place the two panels wrong sides together, and start to overcast the edges (as illustrated below, and right), making a stitch into every one or two holes of the gauze. Pull each stitch quite tightly as you finish making it.
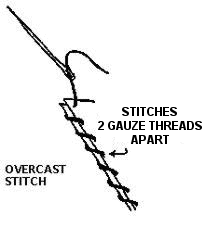
Work slowly around curved edges, easing the seam allowance in place as you stitch, making sure no bare gauze is left showing, and stitching through the outermost row of stitches each time.
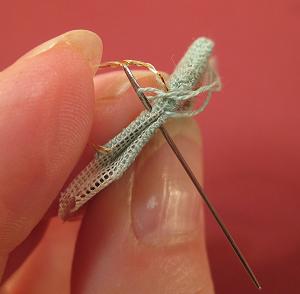
As you come to the top edge of the handbag, make sure to hold the handle made from the gold thread out of the way, and continue stitching the two panels together. When you reach the bottom corner of the bag, stop stitching but do not fasten off your thread yet.
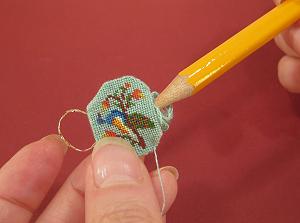
Take some of the leftover thread from stitching the needlepoint (three or four feet of any colour thread will do), roll it into small balls about a foot long each time, and use it to lightly stuff the bag, using a pencil to push it in. Then continue stitching the two panels together. Finish off the length of cotton securely by working a couple of back stitches along the seamline, pulling the cotton taut, and cutting it very closely – this way, the end of the cotton will ‘disappear’ into the seam.
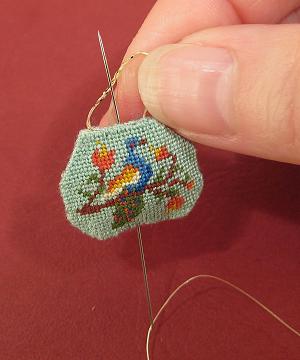
Attach the bead to the centre of the top of the bag by using the fine beading needle and the beading thread (packed separately from the embroidery threads).
Do not knot the thread first.
Poke the needle up from the seam in the base of the bag and out of the centre top, pulling the thread through until the thread end disappears into the stuffing inside the bag, then make a tiny backstitch at the top centre seam.
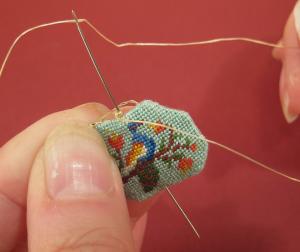
Attach the bead securely, passing the needle through the bead twice.
Return the needle back down through the bag to the bottom seam, and fasten off with two backstitches, cutting the thread closely.
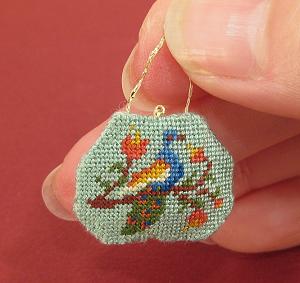
Your doll’s house handbag is now finished, and ready to grace your doll’s house or room setting.
Now that you have seen how easy it is to make one of our super miniature handbag designs, why not visit our Needlepoint Kit Store ? We have several different designs of miniature handbag to choose from, so there is bound to be one suitable for even the most discriminating doll’s house doll!

